Illustrator is a graphics editor created by Adobe. Illustrator is unique from other graphics editors because it uses vector graphics, as opposed to the more commonly found raster graphics. The difference between the two is that raster graphics use pixels to create an image, whereas vector graphics use anchors, lines, and curves to create an image. Vector graphics are great for designing, because you can scale up and down without any loss of quality. This is why Illustrator is a good choice for designing software.
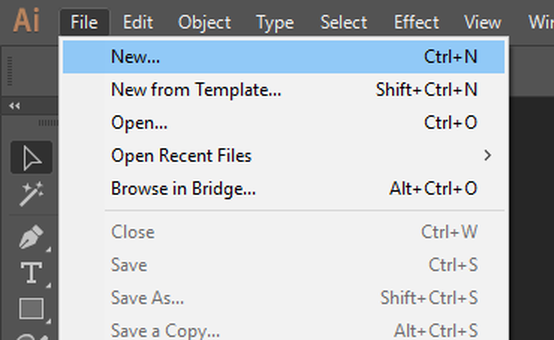
Our next assignment was to use illustrator to create a design for a key chain, which we would later cut out using the laser cutter in the innovation center. To begin creating these designs, I had to create an illustrator file with the correct dimensions and settings.
|
|
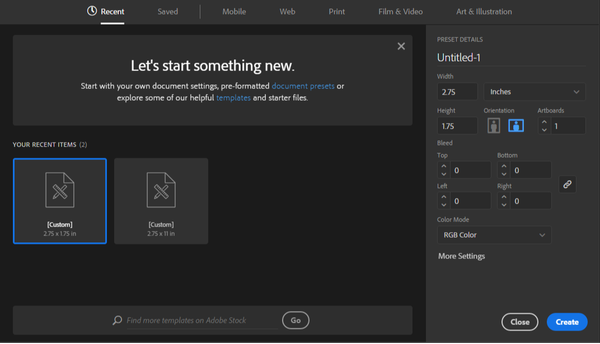
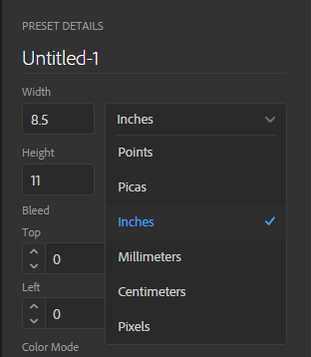
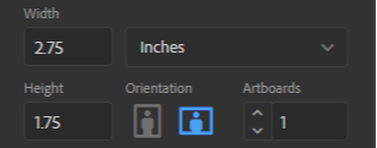
To find the settings I wanted to change, I had to go to the print tab. Then, on the right side, I changed the size to inches, and made it 2.75 x 1.75 with landscape orientation. Also, don't forget to use RGB color, or the design won't work on the laser cutter.
|

|
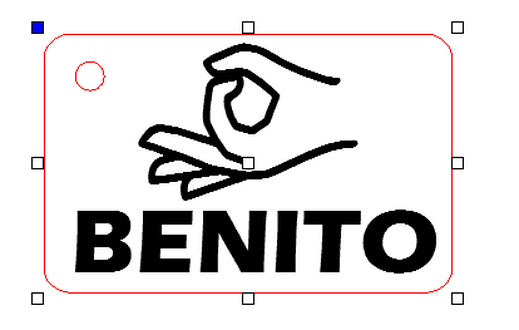
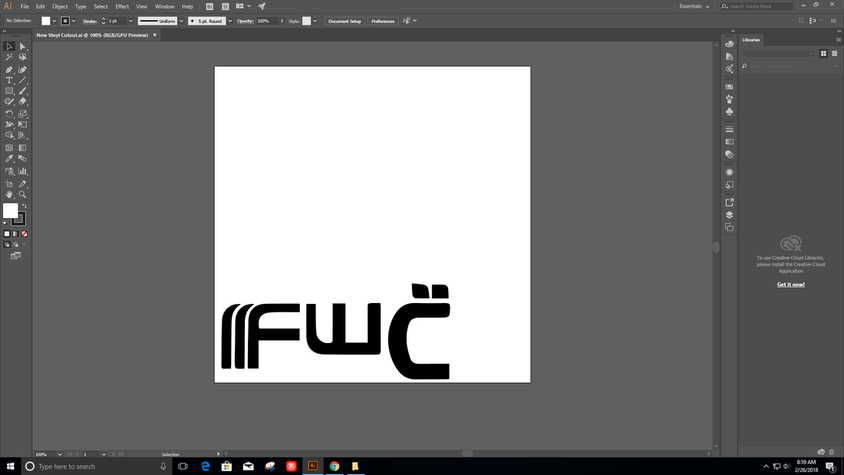
I then used the space to create my key chain design.
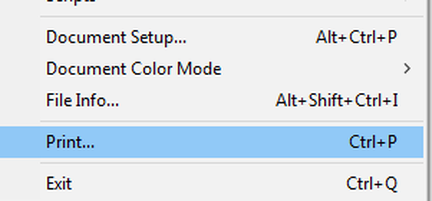
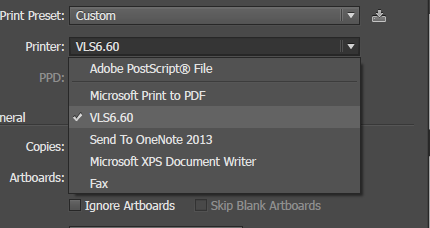
Now, we are almost ready for the laser. Bring your file to the lasers on a flash drive and open it on one of the computers. Then, go to File > Print. Change the printer to VLS6.60, then click setup in the bottom left and go to preferences.
|

|
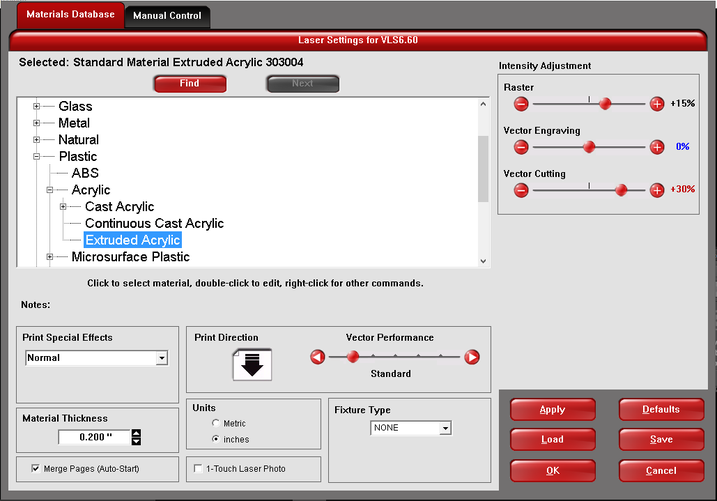
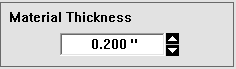
Under the materials tab, find the material you are using. Then, measure the thickness of your material using a dial caliper, and put it into the computer. Then click OK.
|

|
Now, open the UCP software. Your design should be there. Before you do anything else, turn on the laser and the exhaust.
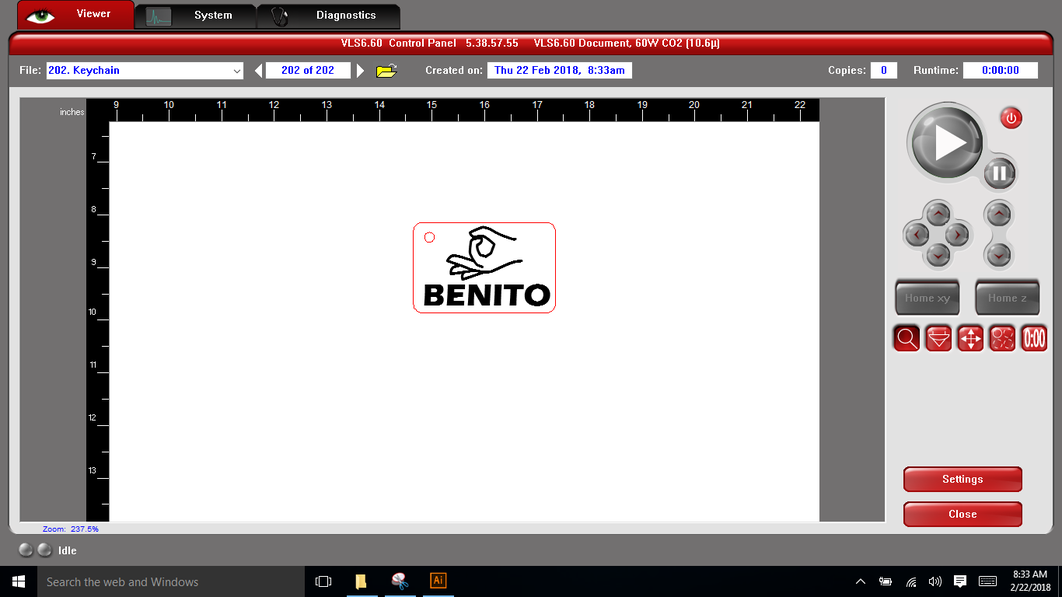
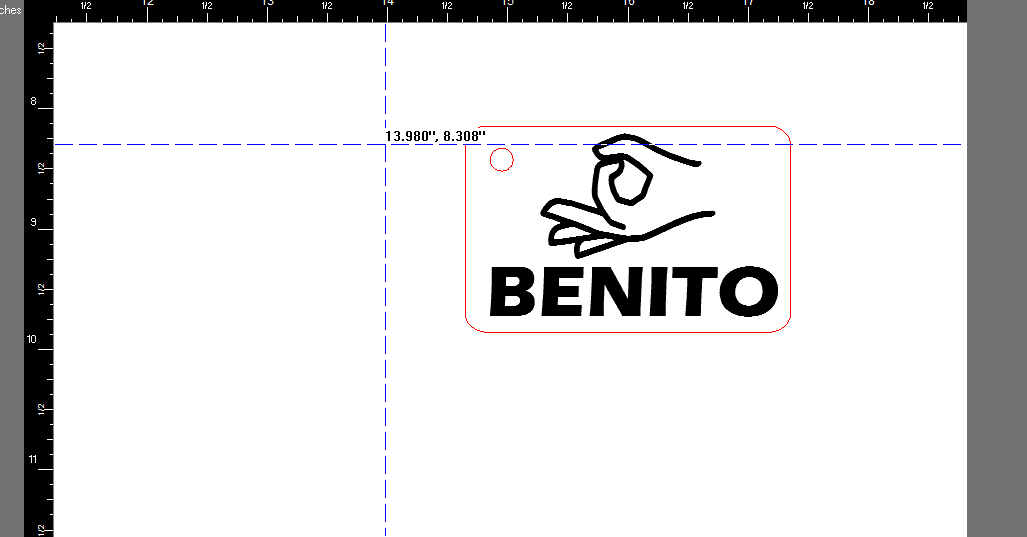
Now, put your material in the laser. Use the focus tool on the UCP software to move the laser to the correct spot. Then use the relocation tool to match up the correct corner of your design with the location of the laser. Then use the focus tool again and check that all your corners are still on the material.

|

|
Now, press play and watch your design be cut out!
|
|

After we made the key chain, we used illustrator to design and cut out a vinyl decal. We begin the same way as with the key chain; we create an illustrator file and make a design. Make sure you turn any images or text into vector images.
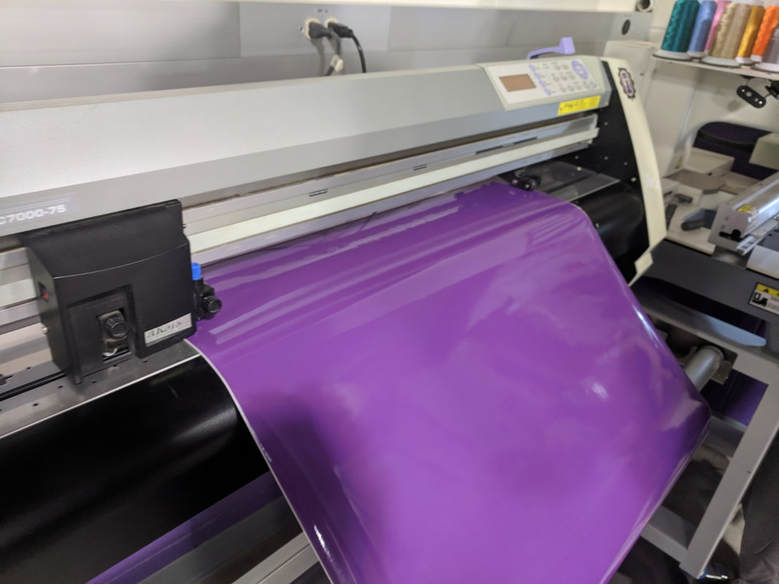
Save your design on a flash drive and bring it to the vinyl cutter. Before you cut it out, though, you need to make sure the vinyl you want is loaded on the machine. Line up the vinyl with the wheels and pull up the purple lever to lock it in place. Then, select all the items you will be cutting out on the vinyl cutter, and open Cutting Master 2.
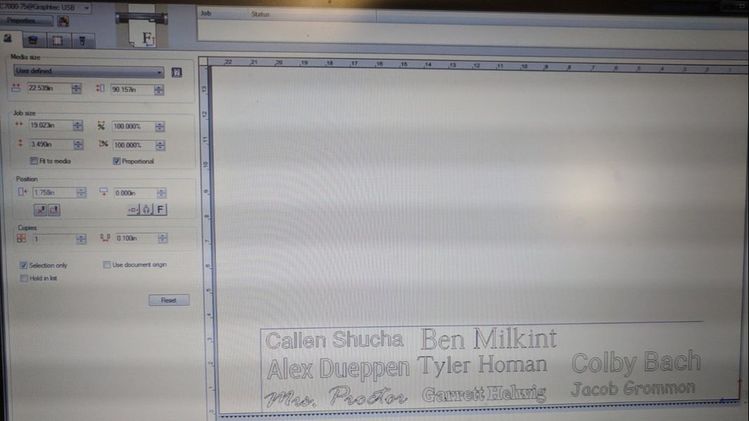
Check and confirm media size, location, and rotate. Then hit send. To remove your vinyl, use a blade and cut a straight line along the vinyl.
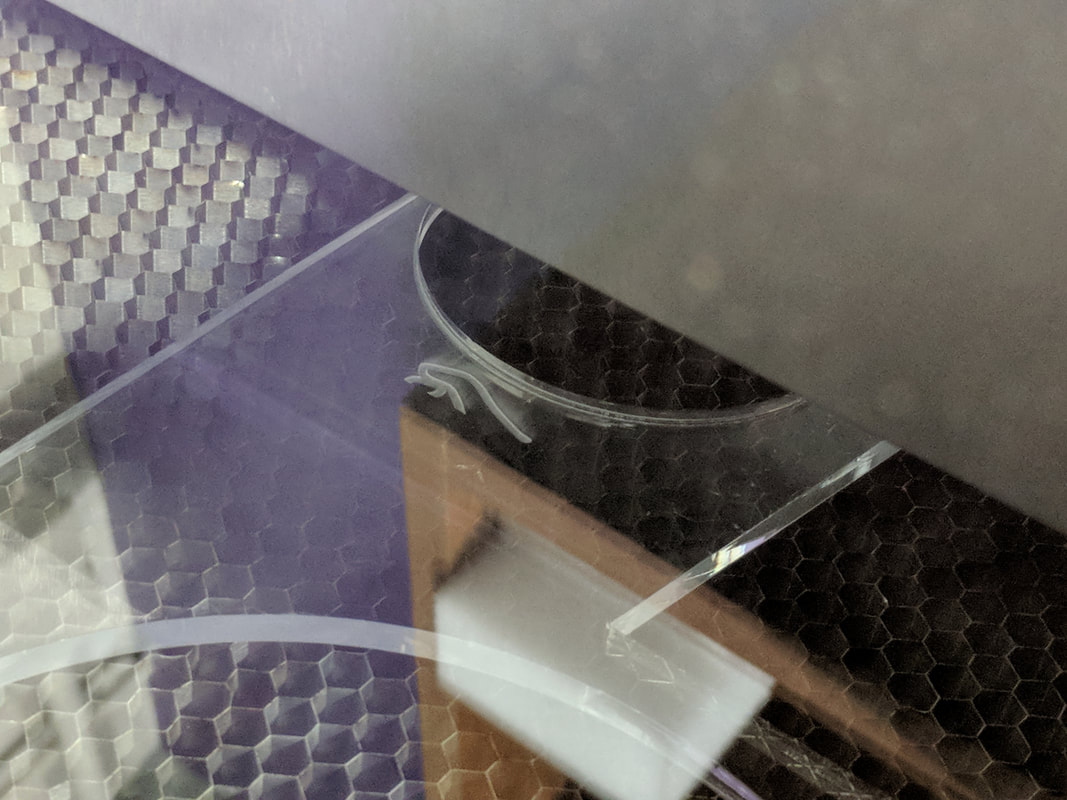
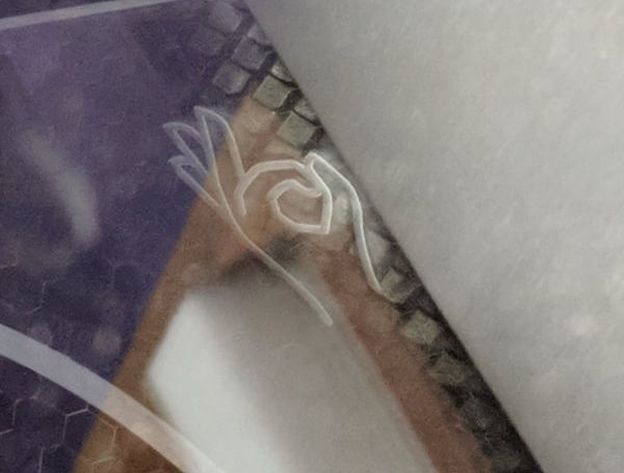
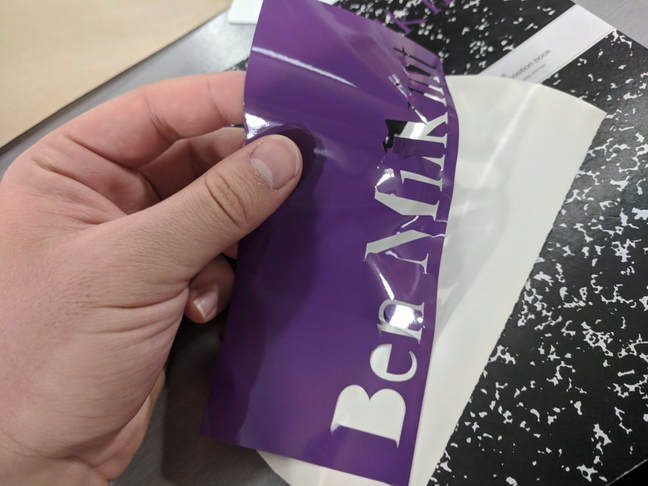
Now you are ready to apply your decal. Place transfer tape over your decal and use the applicator to press down very hard. Then, peel off the backing.
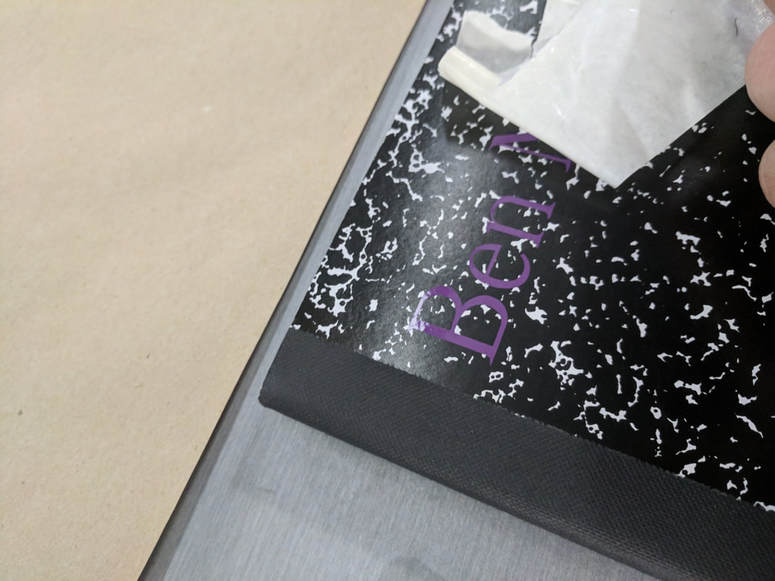
Now, place your decal wherever you want it, and use the applicator and press it firmly. Then, peel back the transfer tape very carefully.
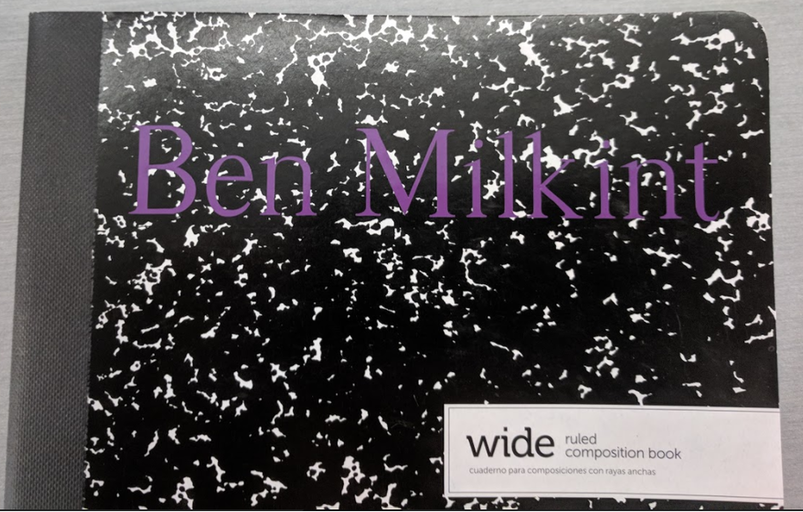
Your vinyl decal is now applied!
During these projects, I learned a lot about vector images, inventor, and the laser cutter and vinyl cutter. I learned how to design and create things from start to finish, and that is really cool. I learned about how the machines work, how things can go wrong, and how to ensure things run smoothly. I also learned a little bit about how the machines and programs communicate to create things correctly. All in all, I really enjoyed these projects.
